Thursday 28 July 2016

Fitting a flue

 I've had to use a bit of thought on how to get the small throat I gave the oven to connect to the Flue pipe.  There's not an anchor plate available so after playing around a bit I come up with the best solution I could. There may be better ones but I am not aware of any.  If I was building this oven again I would change the size of the throat opening for the vent.  I did make it bigger all ready but I think it would benefit from being wider and a bit deeper.  My oven still works but this is an improvement I think could be made.
 One issue is how to prevent the metal flue expanding and cracking the mortar.  I bought a stove adapter for the flue, meant for going into a stove or boiler, there is no anchor plate available and if there was I don't have a big enough area to attach one. I wrap the flue adapter on the outside with a layer of cardboard and use a cut piece of polystyrene from some packaging to get the height and to stop cement falling through later.  My idea is the cardboard will help me to form a shape for the adapter with heatproof screed that is larger than the size of the adapter by about 3mm all round.
 From this I get a solid form surrounded in Firebricks so it is pretty strong.  Later when it's dried out I remove the adapter and screed all around the firebricks on the outside ond over so they are protected from the weather and insulated well.  I refit the adapter using a lot of Heatproof silicon that is meant to be safe up to 1250c but later I read it should not be exposed to a flame, which worried me bit so I lined the inside of the flue where it is joining the vent and the silicon could be exposed to a flame. I lined it with some Fibre Blanket I found on ebay that is only a few millimeters thick and stuck it with the Vitcas Ceramic Fibre Glue.   I have read of lots of people having problems with silicon fitting the flue with the silicon disintegrating and cement breaking up...   I hope I won't have this problem... I hope my precautions will be enough to stop it...   I'll let you know if this falls to pieces.

 This is the 8 inch twin wall flue adapter, you can see the vent opening lined with the ceramic fibre. Ideally the vent should be shaped better but this still works.

 The flue makes a big difference to the draw and keeps smoke away better. There is a damper fitted as well. The flue wasn't cheap but it is making a big difference and will be needed to get up through the roof of the Gazebo later.

Running costs  £1828.76 to date.

£7.99 Silicon 1250c heatproof sealant.
£2.39  Ceramic fibre 12"X 24" millimeter thick (eBAY)
£9.84 Vitcas Ceramic Fibre Adhesive (eBay)

Flue Supplies
£117.82  8" twinwall (T/W)  1m lenght
£134.75  8" Draft Damper T/W
£38.53    8" Roof Support T/W
£95.40    8" All weather cowl T/W
£42.60    8" Adaptor  to single wall T/W

New running cost - £2278.08


Things I learned so far...

A Nutella Pizza is ace.

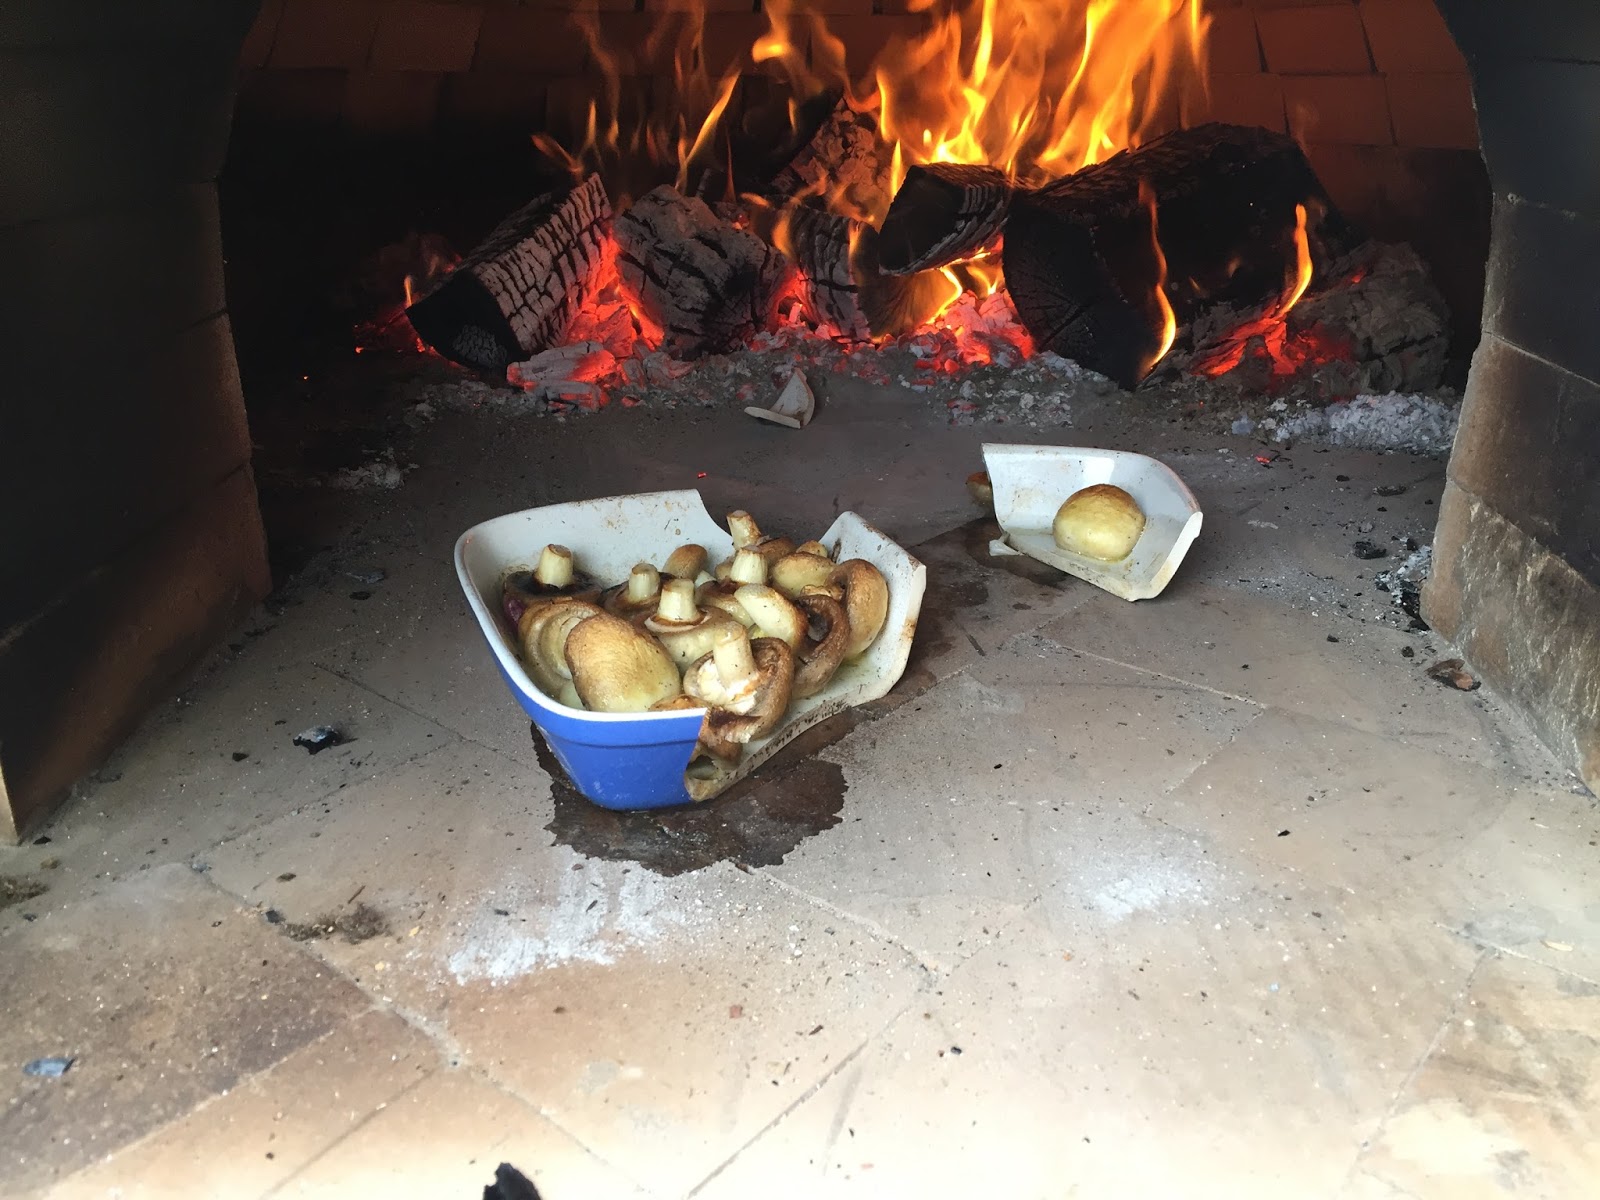
Steaks taste fantastic in this oven as does anything I cooked so far. Vegetable potatoes, bread, all taste considerably better.
I have made the best pizza I ever tasted and I still don't know exactly what I am doing. I haven't used the 'proper' pizza flour yet either.
I really liked the tomato, cheese, artichoke, mushroom and whole egg in the middle pizza.

This oven is ace...  I don't know why there aren't more of them. It's so satisfying and there is a marked improvement in flavours. This is way better than a Barbecue or a domestic oven. It's just the wood thing I guess that puts people off it, the work involved with getting the timber and cleaning the oven and pre heating....  When did we lose touch with this type of cooking?  Am I going to start piling on the pounds now? So many questions... So many recipes to try...

Monday 25 July 2016

First pizza and experimenting

 It took about 6 days of burning ever increasing fires to cure the oven.  The way to tell this is when the black soot clears from the inside of the dome.  You can see it is all black in the photo above.

The temporary chimney worked okay after the fire was burning for a while but lots of smoke comes out the front  as you can see by the blackening below. I'm also having problems with moisture getting into the oven with the constant rain everyday this summer.  So I decide I will be building a roof over the oven,  the waterproofing of the dome was not sufficient.  With this in mind the chinmey will need to be much longer to claer the 'Gazebo' roof. So I decide to go for a stainless twinwall flue pipe.


 This is what happens if you don't cure your dish....!!

 The first Pizza!!
Aberdeen Angus Ribeye - The best I have ever tasted. I am amazed how good steak cooks in the oven, it retains all the juiciness.
The bread tasted much better as well. I don't think I want to cook in a normal oven again. I am enlightened!!!


Wednesday 6 July 2016

painting the dome and initial firing for curing process.

 I chose a simple paint from B&Q, Sandtex, textured finish, in ivory white.  I can always change the colour later if I want to. I figured light first is easier than the other way around.  The paint is breathable and waterproof.  However, you must paint  at least 3 hours before it rains. .

Living in Scotland this is always a gamble as you can see below.  On a perfect sunny day with no rain what so ever forecast I began painting (under a pavilion tent for extra certainty).  About 30 minutes into the job the weather changed rapidly from Mediterranean summer to African monsoon, in seconds!  I was holding onto the tent hopelessly to try and stop the rain getting at the wet paint, which by now was running into the ground. I was soaked to the skin, the flimsy tent is no match for the monsoon. I am convince I will build a gazebo over the oven.

 Aye, the oven and arch look a bit rough.  I need to clean off the mortar residue left from the arch form. I'll do that shortly...


 The chimney is not really a chimney, it's just bricks laid in place. Later it will be a stainless flue system for the Gazebo.
 We start with a small fire being sure not to exceed 175c on curing day 1. This will be at least a 5 day process if not more, gradually increasing the temperature each day.

We have a brilliant tool to check the temprature we bought on Amazon. An infra- red thermometer.
We can measure the temp at the top of the dome inside the oven so we know not to heat too fast! -which could be disasterous.


I am fairly excited by the fire in the oven.
There is smoke coming out the front of the oven at the start of each firing.  It's making the arch blacken.  It behaves better as it gets warmer.
I think this will be overcome when there is a tall flue in place later, it will provide a strong draw and should help get all the smoke up and away...   (touch wood. )


 Marco 'Christening' the oven with a rich tea biscuit on Day 2 of curing. He said it tasted really nice.
Day 2 we try not to go above 200c.
It's raining every day this summer it would appear.  Is it even summer yet? It is July 6th...


Costs so far... £1777.76

Sandtex paint 10 litres (bigger tub) - £36 B&Q
Infra red thermometer (essential)    - £15 amazon

Total to date: £1828.76

Insulating & Rendering the Dome

 Here you can see the front arch added to the internal arched opening.  The internal arch opening has the flue opening in it. The second arch opening is wider and higher to accommodate a door that will be placed into front arch to when needed. This won't be a hinged door, just one that you put in place when needed.  I'll work on how that is best designed later. Probably it should have a controlled air vent like on a wood burner stove...
The dome has been covered with Vitcas Heatproof Screed. Those 4 tubs i had to buy earlier because they are not supplying enough materials.   I used just over 3 tubs to cover my dome in an inch of screed.
 Here I am building up a level on which to build a chimney.  I had intended to build a chimney using the excess firebricks I have....however... since starting the patio and realizing how bad the rain is here in Scotland I decide to build a roof over the oven later. So my chimney will be no more, I need a Stainless Flue that will go through the Gazebo roof that I will build later..
 Here you can see the ceramic blanket insulation supplied by Vitcas for a 1 meter oven. It is not sufficient for my 110 oven.  Good Job I bought an extra 3m of 50mm insulation for good measure. You can also see the chicken wire supplied by Vitcas is not enough for my oven.   So I bought more at an excellent price from one of my go to places "Tool Station".  At a massively cheaper price than Vitcas.
 Here you can see the first 'Scratch Coat" render. After much fussing and reading on the net i decided on a mix of Lime - Building Sand - Cement in a 1-4-1 mix.- For the first coat.  The second coat I reduced the Lime content slightly perhaps to about 50% so 0.5-4-1
For the third coat I tried something different....

 Above: applying the finish coat.
For the finish coat (3rd external cement layer) I don't use lime. I use a 4-1 Sand cement mix but add a mixture of Bostik Cementone Waterproofer as the water. It said 30 to 1. I put enough to cover the bottom of a bucket in 2 CM of liquid and filled the bucket with water.
 The guidance states not to use lime with this additive.
The plus side of using this waterproof seems to be that it is waterproof but breathable so any water vapour should escape but water should not penetrate.

B&Q sell only 'Mastercrete' cement, that's what I've been using.


 I finish the render with a sponge so it has an ethnic finish.  I dab the dome so it brings out the aggregate.  I leave a built up run from the dome to edges of the base so that any water will run off quickly.

Running costs to Date £1714.65


Additional costs...

B&Q
Mastercrete cement £4.73 a bag   X 3    =£14.19
Bostik Cementone Waterproofer            = £ 12.43
Hydralime 1 bag                                     =£7.98
Leith's Quarry - Blackhills
Washed Building Sand 0.96 tonnes        =£28.51

Total to date : £ 1777.76